
The form says your photo must be "under 200 KB." You glance at the file on your phone — 2.8 MB, maybe 3 MB if the light was good. That is fourteen times too big. You open an image editor, drag the quality slider to the middle, save, re-upload, get rejected again. You drag it lower. Rejected. You start wondering whether this form even works, or if there is some secret trick everyone else knows.
Here is what they do not tell you: 200 KB is actually one of the easier size caps to hit. It is not in the same league as a strict 20 KB or 50 KB avatar limit, where you have to crush the photo into something that barely resembles itself. At 200 KB, a typical phone photograph keeps its original resolution and looks almost exactly like what you shot — you just need to know which quality setting gets you there, and it is probably closer to default than you think.
I stopped guessing and measured it. I took a standard 12-megapixel smartphone photo — 4000×3000 pixels, straight off the camera at 2.7 MB — and ran it through a browser-based compressor at eight different quality settings, recording the actual file size each time:
| Quality setting | Resulting file size (same 12 MP photo) |
|---|---|
| 90 | 789.9 KB |
| 80 (most tools' default) | 205.2 KB |
| 75 | 106.5 KB |
| 70 | 74.9 KB |
| 65 | 64.9 KB |
| 60 | 56.9 KB |
| 55 | 51.5 KB |
| 50 | 49.5 KB |
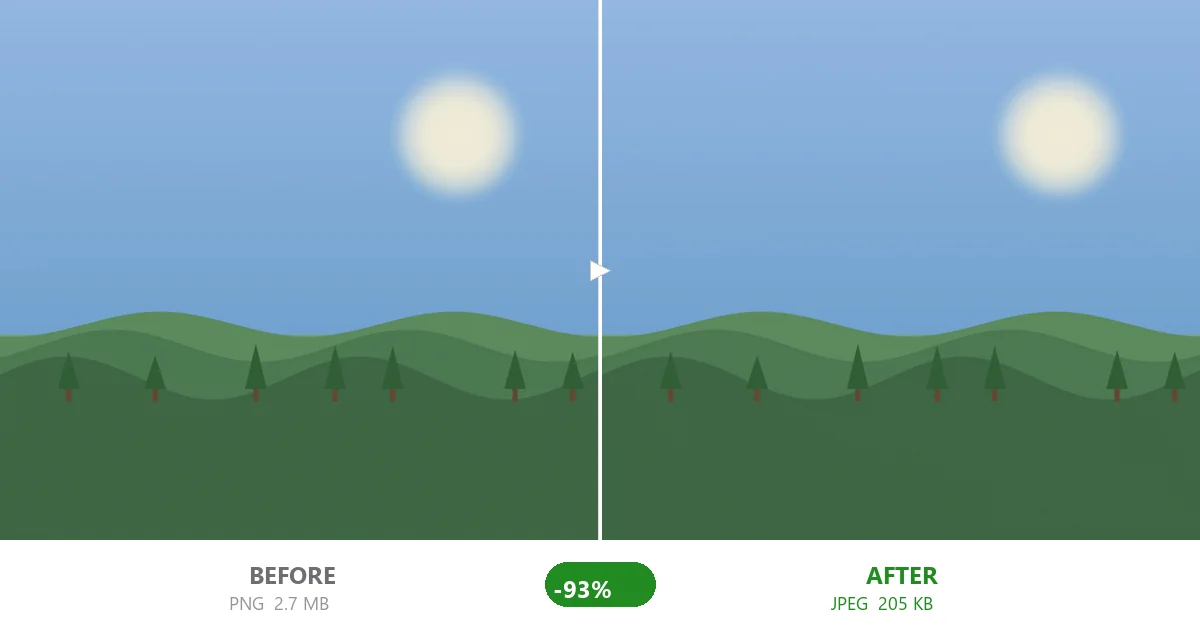
Read the second row carefully. Quality 80 — the value most compressors use when you first upload a file without touching any slider — drops a 2.7 MB phone photo to 205 KB. That is right around the 200 KB line, and the photo still has every single one of its 12 million pixels. No cropping, no resizing, no downscaling. Just the default compression doing its job.
Why 200 KB feels harder than it really is
Most people who hit a 200 KB wall have already been burned by tighter limits. Maybe a visa portal rejected them at 100 KB last month. Or a job application demanded 25 KB. Those are genuinely hard — at 100 KB you usually need quality in the low sixties, and at 25 KB you are fighting for every byte while the photo visibly degrades. So when another form says "under 200 KB," the brain goes back into panic mode.
But the numbers show the reality is very different. A 2.7 MB source only needs a gentle squeeze to land near 200 KB. Even if your phone shoots bigger files — 4 MB, 5 MB — you are looking at roughly quality 72 to 78 to clear a 200 KB bar. That is well within the range where a human eye cannot reliably distinguish the compressed version from the original at normal viewing distance.
The sweet spot: quality 75–80
For the "under 200 KB" goal on a typical phone photo, quality 75 to 80 is the range you want. Quality 80 gives about 205 KB (just a hair over on some photos; just under on others). Quality 75 drops the same photo to about 107 KB — comfortably below 200 KB with room to spare, and still perfectly sharp. There is almost no reason to go lower than 70 for a 200 KB target unless your original is unusually large (over 5 MB) or contains a lot of fine texture that resists JPEG compression.
Compare that with the advice for a 100 KB limit, where the sweet spot falls to quality 60–65, or a 50 KB job-application cap where you are hovering around quality 45–55. Each step down in the allowed file size forces you into lower quality or smaller dimensions. But at 200 KB, you stay in the comfortable upper band where quality loss is essentially invisible.
What kinds of portals ask for under 200 KB?
This limit shows up more often than you might expect, and across a wider range of contexts than the ultra-strict 20–100 KB tier:
- University admission portals. Many undergraduate and graduate applications accept up to 200 KB for ID photos or document scans. Some specify dimensions (like 350×450) but leave the file size generous compared with visa systems.
- Government and civil-service forms. Tax-filing uploads, license renewals, permit applications, and municipal registrations often sit in the 150–300 KB range rather than the razor-thin 100 KB used by passport systems.
- Dating profiles and social platforms. Some sites cap profile pictures at 200–500 KB to save bandwidth and storage. The photo looks identical after compression because the viewer sees it at thumbnail size anyway.
- Forum avatars and community sites. Many bulletin boards and niche communities allow up to 200 KB per avatar or attachment — large enough that you can upload a decent-quality photo without thinking twice.
- Email attachments with relaxed servers. While corporate email sometimes enforces 20–25 KB per inline image, personal accounts and many webmail services tolerate up to several hundred kilobytes per attached photo.
If your photo is still over 200 KB at quality 80
It happens — but the cause is almost always the same thing. Your original is larger than average. Modern phones shoot 24-, 48-, even 108-megapixel images, and those files can easily hit 6–12 MB before any editing. If quality 80 puts your file at, say, 340 KB instead of 205 KB, you have two options:
- Nudge the quality down slightly. Try 75, then 72. On a 6 MB original, quality 72 typically lands between 180–220 KB depending on the photo's detail level.
- Crop out unnecessary background. If the portal does not require a specific aspect ratio, trim the edges so the subject fills more of the frame. Fewer pixels means less data to encode, and the file shrinks noticeably without touching quality.
What you rarely need to do at 200 KB is aggressively downscale the whole image. Unlike the 100 KB or 20 KB tiers where shrinking to 600×600 pixels becomes routine, here the original resolution usually survives untouched.
Mistakes that waste time (and make the problem worse)
- Re-saving the same JPEG repeatedly. Each "Save As" re-compresses the file. After three or four rounds, artifacts stack up, the photo looks muddy, and the file may have barely changed in size. Compress once, directly from the original, to your target quality.
- Using a server-based online compressor. Your photo travels to someone else's server, sits there during processing, and downloads back. For a casual snapshot that is annoying enough; for an ID photo or admission document it is a genuine privacy risk. Browser-side tools run entirely locally — the file never leaves your device.
- Assuming quality percentage maps linearly to file size. Look at the table above: dropping from 90 to 80 (ten points) cuts the file from 790 KB to 205 KB — a 74% reduction. Dropping from 60 to 50 (also ten points) cuts it from 57 KB to 49.5 KB — only 13%. The curve flattens dramatically at lower qualities, which means the biggest gains happen early.
- Panicking and dragging quality to minimum. At quality 30–40 the file barely shrinks further (the table bottoms out around 50 KB for this photo), but blocky artifacts, banding in gradients, and smudged edges become obvious. Stay in the 65–80 zone for a 200 KB target and the result looks like a normal photograph.
The workflow I actually use
- Note the requirement. Most forms state both a maximum file size ("under 200 KB") and sometimes a dimension hint. Write both down.
- Drop the photo into the browser compressor. Do not adjust anything yet — let it compress at default quality (usually 80).
- Check the resulting size. If it is under 200 KB (it usually is), download and upload. Done. If it is slightly over, nudge quality down to 75 or 70 and re-download.
- Never resize unless the form demands specific pixels. At this file-size tier, resolution is almost never the bottleneck.
How 200 KB compares to other common limits
Different portals pick different caps, and each one changes the strategy slightly:
| Limit | Typical quality needed | Resize required? | Difficulty |
|---|---|---|---|
| 20 KB | 30–40 | Yes, usually to ~320 px | Hard |
| 50–100 KB | 50–65 | Sometimes | Moderate |
| 200 KB | 75–80 | Rarely | Easy |
| 500 KB – 1 MB | 80–90 | No | Trivial |
If you are dealing with a tighter cap than 200 KB, my guide for compressing a photo under 100 KB walks through the visa/passport case in detail, and the 20 KB extreme covers the smallest common limits. For oversized email attachments, the email photo fix has you covered.
The 30-second answer
Upload your photo, check the default quality output (usually around 200 KB for a normal phone shot), download, submit. If the default comes in a few kilobytes over, drop quality to 75. That is literally the entire process — no software install, no server upload, no account creation, no pixel counting. Your 12-megapixel photo stays 12 megapixels, and the portal stops complaining.
Next time a form says "under 200 KB," remember: it is not a warning sign. It is the file-size equivalent of a wide door — walk right through it.