
I've been there. You fill out an online form, upload your documents, and the system spits back: "File size must be under 20KB." You check your photo — it's 1.2MB. Now what?
Most people panic and start randomly lowering quality settings, ending up with a photo that looks like it was taken through a potato. That's not necessary. Hitting 20KB without turning your image into a pixelated mess is absolutely doable. You just need to know the right order of operations.
20KB shows up everywhere. Passport photo upload portals, government ID verification systems, online exam registration, even some job application platforms. These systems set a hard 20KB cap — not because they're cruel, but because they're dealing with millions of submissions and need to keep their databases from exploding.
I checked a few common ones: India's SSC online application portal requires photos under 20KB. Many university admission systems in Asia have the same limit. Some banking KYC uploads cap at 20-30KB. And plenty of forum profile picture uploads still enforce tiny limits from the dial-up era that nobody bothered to update.
The point is: if you're reading this, you probably need to hit this number right now, not argue about whether it makes sense. So let's get to it.
Let's be real about what 20KB means. A single uncompressed pixel stores 3 bytes of color data (one each for red, green, blue). So in raw terms, 20KB is about 6,800 pixels. That's roughly an 80x85 image — smaller than a thumbnail.
Compression buys you a lot more headroom. JPEG compression at quality 60 can stuff roughly 25-30 pixels into the same byte budget compared to raw. So a compressed 20KB JPEG can realistically show you a 200x200 to 400x300 image with reasonable quality. That's enough for a clear face photo on a passport application.
But here's what most guides won't tell you: there's a cliff. Above a certain resolution-to-quality ratio, you get diminishing returns. Below it, the image degrades fast. Finding that sweet spot is what separates usable photos from garbage.
After testing dozens of images through our compressor at different settings, here's what consistently produces the best results. Follow these in order — the sequence matters.
Most people jump straight to cranking down the quality slider. Wrong move. Resolution is the single biggest factor in file size. A 4000x3000 photo compressed to quality 5 will still be larger than a 400x300 photo at quality 90.
Target resolutions that work well for 20KB:
- Passport/ID photo (square crop): 200x200 to 300x300 pixels
- Document scan (A4-ish): 250-350px wide, height proportionally
- General photo for web form: 300x200 to 400x300 pixels
Any basic image editor can resize. On Windows, open in Photos and use the resize option. On Mac, Preview has "Adjust Size" under Tools. Or use our online compressor — it handles resizing and compression in one step.
At 20KB, format choice makes a massive difference:
- JPEG — Best for photos. At tiny file sizes, JPEG's compression algorithm handles real-world photos with gradients much better than PNG.
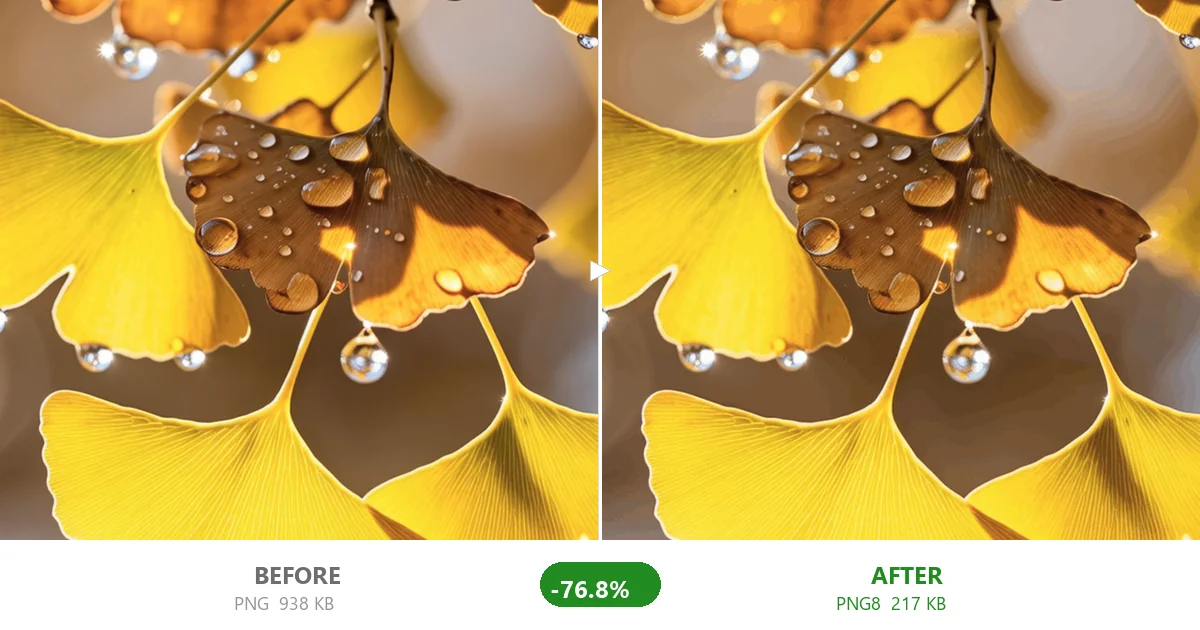
- PNG — Only use this if your image has large flat areas (screenshots, simple logos, forms with solid backgrounds). For photos at 20KB, PNG produces significantly worse results.
- WebP — About 20-25% more efficient than JPEG at the same visual quality. If the system accepts WebP (not all do — check first!), it's the best choice.
I tested this: a 300x300 portrait compressed to 20KB as JPEG looks clean and usable. The same photo compressed to 20KB as PNG shows visible color banding and artifacts. The difference is night and day.
Now the actual compression. Here's a practical workflow using CompactJPG:
- Resize your image to the target dimensions from Step 1.
- Set format to JPEG (or WebP if supported by the target system).
- Start at quality 60 and compress. Check the output size. If it's above 20KB, drop to 50 and try again. If it's way below (e.g., 12KB), bump to 70 to recover quality.
- Preview the result before downloading. Zoom in on faces or text to check for unacceptable artifacts.
This iterative approach takes maybe 2-3 attempts and gives you the best possible quality at your target size. Beats guessing a random number and hoping for the best.
I ran a set of tests with different image types to see what 20KB actually looks like in practice. Here's what I found:
- Studio portrait (original 2.1MB, 2000x2500): Resized to 250x310, compressed to JPEG quality 55 — final: 19KB. Face is still clear, no visible artifacts at passport-print size.
- Scanned document (original 800KB, 1700x2200): Resized to 300px wide, compressed JPEG quality 50 — final: 18KB. Text is readable, background clean. Acceptable for online submissions.
- Screenshot with text (original 450KB, 1920x1080): Resized to 400px wide, converted to PNG — final: 21KB. Text crisp, no JPEG artifacts. This one worked better as PNG because of the flat UI background.
- Outdoor photo with lots of detail (original 3.4MB, 4000x3000): Resized to 200x150, JPEG quality 70 — final: 19KB. Acceptable but soft. Complex scenes with lots of textures are the hardest to compress to 20KB.
I'll be honest: sometimes 20KB just isn't the right target. If you're compressing a photo for:
- Printing: Don't. 20KB won't print well beyond a postage stamp.
- Professional portfolio: No. Use proper compression at higher quality. Your work deserves better.
- Website hero image: Bad idea. Modern web images should be optimized but not crushed. Aim for 100-300KB depending on dimensions.
20KB is for forms, portals, and systems that demand tiny files. If nobody's forcing you to hit that number, optimize sensibly instead — our default quality 80 setting produces images that are 60-80% smaller while looking nearly identical to the original.
But if you do need to hit that magic number — passport deadline looming, form won't submit, frustration mounting — now you know exactly how to do it without ruining your photo.