
Here's what almost everyone does with image compression: they drag the slider somewhere between 70 and 85, hit compress, and hope it looks okay. If the file is too big they move it left. If it looks bad they nudge it right. Repeat until bored.
I used to do the exact same thing. Then I built an image compressor that runs MozJPEG in your browser, and I started wondering: what does the slider actually do? How much file size do you gain or lose at each step? Is there a point where dropping quality further stops being worth the savings?
So I stopped guessing and ran some numbers.
How I tested this
I took four different images — a portrait-style shot, a landscape with sky and ground, a product photo on a clean background, and a sunset gradient scene — and fed each one through our compressor at quality 40, 60, 80, and 90. Same engine (MozJPEG), same resolution (1600×1200), zero resizing. This is not theoretical math from a textbook. These are real byte counts from the same library we use on CompactJPG.
| Image | Original PNG | q=40 | q=60 | q=80 | q=90 |
|---|---|---|---|---|---|
| Sunset | 495 KB | 10.6 KB | 13.3 KB | 47 KB | 148 KB |
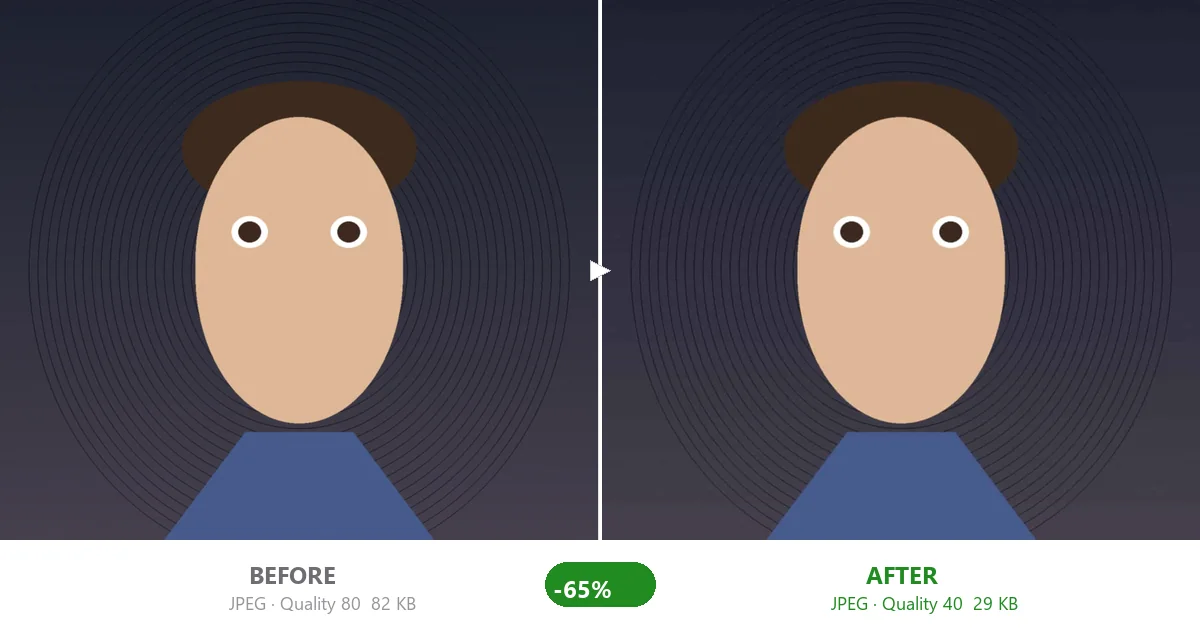
| Portrait | 637 KB | 28.7 KB | 40.2 KB | 82 KB | 187 KB |
| Landscape | 567 KB | 15.4 KB | 22.5 KB | 74 KB | 204 KB |
| Product shot | 382 KB | 9.8 KB | 11.1 KB | 21 KB | 67 KB |
A few things jump out immediately.
The three things nobody tells you about quality settings
1. Quality 90 is almost never worth it
Moving from quality 80 to quality 90 roughly doubles the file size across all test images — but the visual improvement is barely noticeable unless you're pixel-peeping side by side. On average, q=90 came out at about 2.6× the size of q=80. That's 160% more bandwidth and storage for maybe 2% better perceived sharpness. If you're serving millions of photos, that difference is expensive. If you're just posting on Instagram, nobody will ever tell.
2. Quality 60 is where the sweet spot lives for most web use
Dropping from 80 to 60 cuts the file size by roughly half (average: 45% of the original q=80 output). For most website photos, blog images, and email attachments, the quality loss is subtle — smooth gradients stay smooth, faces look normal, text stays readable. You start seeing mild blockiness only if you zoom past 100% on detailed areas like hair texture or foliage. At normal viewing size? Indistinguishable from q=80 for the vast majority of viewers.
3. Quality 40 has a real cost
At q=40, files get tiny — we're talking under 30 KB for most of these test images. That's great if you're fighting a strict upload limit (like the 20 KB cap many government forms enforce). But there's a trade-off: flat areas stay fine, edges get slightly fuzzy, and anything with fine detail (fabric texture, tree leaves, printed text) starts showing visible JPEG artifacts. Use it when you have to. Not as your default.
So which quality should YOU use?
Stop thinking about the number and think about where the image goes:
- Website hero images and product photos — Stick with 75–85. These are your first impression. Keep them crisp. If you run an e-commerce store, check out our real estate photo guide for more on batch-compressing listing images without killing detail.
- Blog post images, social media, email newsletters — 65–80 works great here. Nobody's zooming into your email header at 200%. You save 40–50% off the top compared to cranking it to 90.
- Strict upload limits (job portals, ID scans, forum avatars) — Drop to 45–60. Yes, you lose some fidelity, but the alternative is "file too large" error messages all day. Our compressor lets you preview before downloading so you can dial it in precisely.
- Archival, printing, or professional portfolios — Don't go low. Either keep quality at 90+, switch to lossless PNG, or store the original untouched. Compression is for delivery, not for keeping.
One thing that makes this easier
The reason most people pick a random number on the slider is that they can't see the result until after they've already downloaded the compressed file. They compress, download, open, squint, go back, adjust, repeat. It's tedious and nobody enjoys it.
What helps is seeing the output size update in real time as you move the slider, plus a quick preview before you commit. That's how our tool works — you drop the image, drag the quality bar, and watch the predicted size change instantly. No guesswork, no back-and-forth. Your files never leave your device either, so there's no privacy concern while you're experimenting with different settings.
You don't need to memorize "quality 78 is best for blogs." You just need a tool that shows you the numbers while you decide.