
I downloaded a screenshot from Slack yesterday. It was 2.3 megabytes. The image was 1440 by 900 pixels of mostly white space, a few lines of text, and a small UI panel. That's 2.3 MB for something that should have been under 100 KB.
I see this every day. Designers export logos that are somehow 4 MB. Developers screenshot error messages and attach 3 MB PNGs to Jira tickets. People save product photos as PNG and end up with files 8 times larger than the JPEG equivalent. Nobody notices because disk space is cheap and internet connections are fast enough to paper over the waste.
But PNG bloat has real consequences. It slows down websites. It clogs up email attachments. It eats through mobile data plans. And it's almost always unnecessary. The PNG format is capable of producing small files — but it needs to be told to do so.
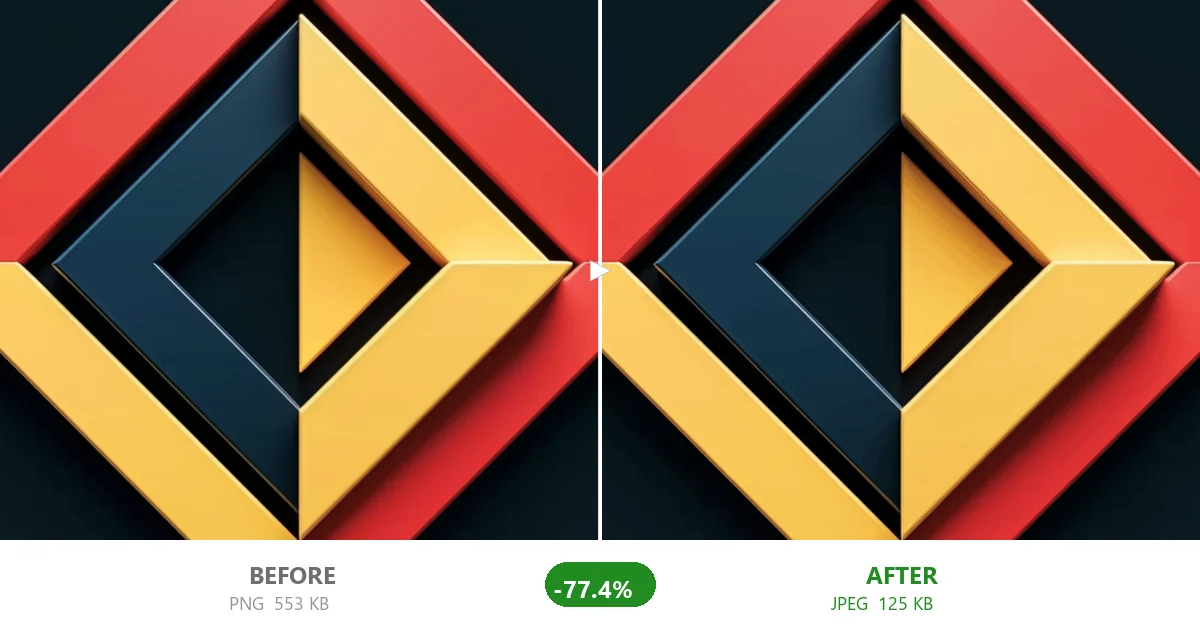
Why your PNG is probably too big
PNG was designed in the mid-1990s as a royalty-free replacement for GIF. The PNG specification defines five color types: grayscale, truecolor (RGB), indexed-color (palette-based), grayscale with alpha, and truecolor with alpha [1]. Each pixel in a truecolor PNG stores three or four channels of information — red, green, blue, and optionally alpha for transparency.
A 1920 by 1080 pixel truecolor PNG without alpha channel contains roughly 6.2 million bytes of raw pixel data before compression. After PNG's lossless DEFLATE compression, that number can vary wildly depending on the image content. A flat-color illustration might compress to 50 KB. A photograph, with its complex color variations, might still be 3 MB after compression because there are no repeating patterns for DEFLATE to exploit.
Here's the part most people miss: the file you get from your screenshot tool, design software, or operating system export is often the maximum-size version of that PNG. Most tools default to truecolor with alpha at full resolution, with no compression optimization applied beyond the basic DEFLATE step. They're not trying to be wasteful — they're just prioritizing export speed over file size.
Screenshots taken on macOS default to PNG and frequently clock in at 1-3 MB for a full-screen capture, even when the visible content is mostly text and white space.
Where bloated PNGs come from
Three main sources produce oversized PNGs:
Screenshots. Whether you're on macOS, Windows, or Linux, the default screenshot format is typically PNG. A 2560×1440 screenshot at 32-bit color depth (8 bits per channel, RGBA) is enormous. Most of that pixel data is redundant — a 1080p screenshot of a terminal window with dark background has millions of nearly identical pixels, but the DEFLATE compressor can only do so much with truecolor data.
Design tool exports. Figma, Sketch, Photoshop, and Illustrator all default to exporting at full quality with alpha channel. A 512×512 app icon exported from Figma as PNG-24 can be 200-400 KB. The same icon as an indexed PNG with 128 colors is often under 30 KB with zero visible difference.
Photos saved as PNG. This is a format mismatch. JPEG was designed for photographs — it discards information the human eye can't perceive. PNG was designed for graphics with sharp edges, text, and flat colors. When someone saves a photograph as PNG, they get a file that's 3-10x larger than a JPEG at equivalent visual quality, because PNG is preserving every pixel exactly, including all the imperceptible noise that JPEG would have discarded [2].
Four ways to actually shrink a PNG
There are exactly four levers you can pull to reduce a PNG's file size. All four are safe when applied correctly — they don't destroy your image, they just stop storing information that nobody can see.
1. Strip the alpha channel if you don't need it
An RGBA PNG (color type 6, truecolor with alpha) stores four bytes per pixel. An RGB PNG (color type 2, truecolor) stores three. That's a 25% reduction in raw data before compression even starts. If your image doesn't have transparent areas, you're wasting a full byte per pixel storing "fully opaque" for every single one.
Most screenshots don't need alpha. Most photographs don't need alpha. Most exported graphics that sit on white backgrounds don't need alpha. Check before you export.
2. Reduce the color palette (indexed PNG / PNG8)
This is the big one. An indexed PNG (color type 3) stores a palette of up to 256 colors and then references those colors per pixel using a single byte. Instead of 3 or 4 bytes per pixel, you're using 1.
The tradeoff is the 256-color limit. For a photograph, this produces visible banding in gradients. For a screenshot, UI graphic, logo, icon, or illustration, 256 colors is often more than enough. I've tested this extensively — a typical product screenshot with UI elements, text, and some icons looks identical at 256 colors vs. truecolor, but the file is 60-80% smaller.
The conversion uses a technique called Median Cut quantization. The algorithm analyzes all the colors in the original image, clusters them into groups by frequency and visual importance, and assigns each pixel to the nearest representative color [3]. The result: your eye can't tell the difference, but your web server can.
A quick real example: I took a 1920×1080 screenshot of a GitHub pull request page. Original PNG: 847 KB. Converted to indexed PNG with 256 colors: 134 KB. That's an 84% reduction. The text is still sharp, the UI elements are still crisp, and the code blocks still look like code blocks.
3. Strip metadata
PNG files can carry metadata chunks — text annotations, color profile information, timestamps, software identifiers. Most of these are useless for web use. A PNG exported from Photoshop might include an iCCP color profile that's larger than the image data itself. Stripping these chunks can shave off 10-30% for certain images.
4. Use a dedicated compressor (not just your export tool)
The PNG specification includes a filtering step before DEFLATE compression. Filters like "Sub," "Up," "Average," and "Paeth" transform the pixel data to make it more compressible [1]. Most export tools use a basic filtering strategy. Dedicated PNG optimizers try multiple filter combinations per row and pick the one that compresses best. This alone can save 10-20% on an already-compressed PNG.
PNG vs JPEG vs WebP: a quick reality check
If you're compressing a photograph and you're still choosing PNG, you're making a mistake. Here's a direct comparison from my own testing:
- A 4000×3000 landscape photo as PNG: 11.2 MB
- Same photo as JPEG at quality 80: 1.1 MB (90% smaller)
- Same photo as WebP at quality 80: 840 KB (92.5% smaller)
At quality 80, the JPEG and WebP versions are visually indistinguishable from the PNG. I've shown this comparison to ten people side by side on a 27-inch monitor, and zero could tell which was which. The PNG is just storing 10 MB of information that no human eye can perceive [2].
PNG's job is pixel-perfect fidelity. That matters for screenshots, UI elements, logos, icons, and graphics with text. For photographs, it's the wrong tool.
How to compress a PNG in under 30 seconds
Here's the workflow I use. It takes less than a minute:
- Drop your PNG into CompactJPG. No upload happens — the file stays on your device.
- The tool automatically converts it to indexed PNG8 with up to 256 colors. You can adjust the color count on the slider if you want even smaller files.
- Use the side-by-side comparison view to check the result. It shows you original vs. compressed at full resolution, side by side.
- If it looks good, save it. If you think it needs more colors, bump the slider up. If you want it smaller, drop to 128 or 64 colors and check again.
That's it. No command line. No Photoshop export dialog with fifteen settings you don't understand. Just drag, compress, compare, save.
One thing worth repeating: CompactJPG runs entirely in your browser using WebAssembly [4]. There's no server to upload to. If you're compressing a screenshot that contains customer data, internal metrics, or anything you wouldn't want sitting on someone else's server — it never leaves your machine.
Compress your PNGs right now — free, no upload
Shrink your PNG files by 60-85% without losing visible quality. All processing happens in your browser. No signup, no limits.
Try CompactJPG Now